In the world of real estate, captivating visuals play a crucial role in attracting potential buyers and showcasing the unique features of luxury properties. High-quality photographs are essential for creating a lasting impression and generating interest. Whether you are a professional photographer or a real estate agent looking to improve your property listings, this article will guide you through the process of real estate photography to achieve outstanding results.
Real estate photography is a specialized field that requires a combination of technical expertise and artistic skills. It involves capturing luxury properties essence and unique selling points through visually appealing photographs.
Essential Equipment for Real Estate Photography
To start with real estate photography, you will need the following essential equipment:
Camera
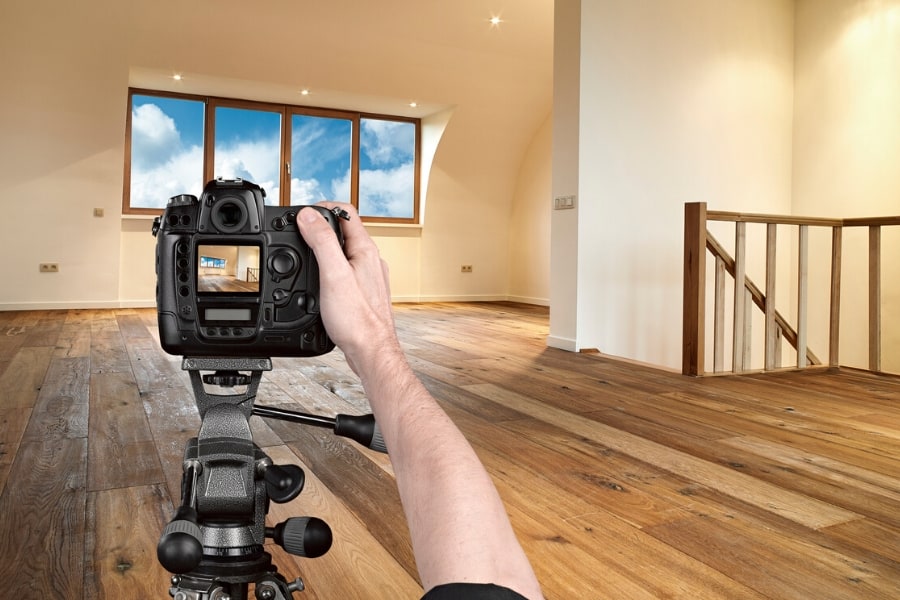
Invest in a DSLR or mirrorless camera with manual controls and a wide-angle lens. A wide-angle lens lets you capture more of the property’s interior in a single frame, showcasing its spaciousness and architectural details.
Tripod
A sturdy tripod is essential for achieving sharp and well-composed images, especially in low-light conditions. It helps eliminate camera shake and allows for longer exposures.
Wide-Angle Lens
As mentioned earlier, a wide-angle lens is crucial for capturing the entire space in a single frame. Look for a lens with a focal length between 16mm and 24mm for optimal results.
External Flash
An external flash can help you balance the lighting in a room, particularly when dealing with challenging lighting conditions. It provides additional light and reduces harsh shadows.
Remote Shutter Release
A remote shutter release allows you to capture images without touching the camera, minimizing the risk of camera shake. It is beneficial for long-exposure shots and bracketing.
Preparing the Property
Before you start photographing the property, it’s essential to prepare it to ensure the best results. Follow these steps:
Declutter and Clean
Remove any unnecessary items and clutter from the space. Clean the property thoroughly, ensuring that all surfaces are spotless. A clean and clutter-free environment enhances the overall appeal of the property.
Staging and Arranging
Arrange furniture and decor in an appealing and visually pleasing way. Consider the property’s target audience and style it to create an emotional connection with potential buyers.
Lighting Optimization
Open all curtains and blinds to let natural light flood the space. Turn on all the lights in the property to create a warm and inviting atmosphere. Pay attention to the color temperature of the lights to maintain a consistent and pleasing look throughout the photographs.
Composing the Shot
Composition plays a vital role in real estate photography. Here are some tips for composing engaging and visually appealing shots:
Highlight Key Features
Identify the property’s unique selling points and ensure they are prominently featured in your photographs. Whether it’s a stunning view, a grand staircase, or an exquisite architectural detail, capture them in a way that grabs attention.
Use Leading Lines
Utilize leading lines to guide the viewer’s eye through the photograph and create a sense of depth and perspective. For example, a hallway or a pathway can act as a leading line, drawing attention to different areas of the property.
Capture Different Angles
Explore different angles and perspectives to showcase the property’s best attributes. Experiment with shooting from high or low angles to add variety and make the photographs more visually appealing.
Proper Lighting Techniques
Proper lighting is crucial for capturing appealing real estate photographs. Here are some techniques to ensure you achieve optimal lighting:
Golden Hour
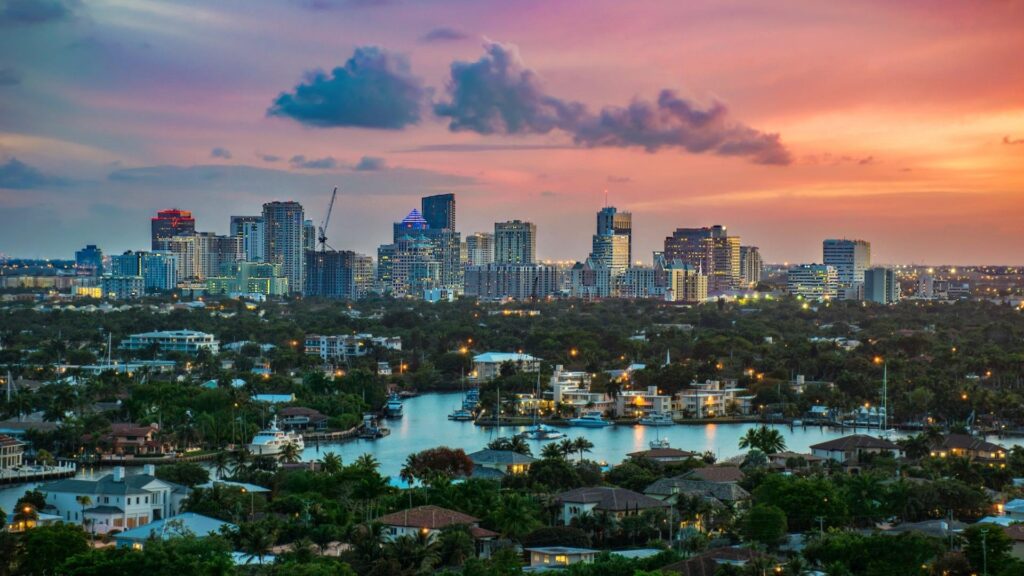
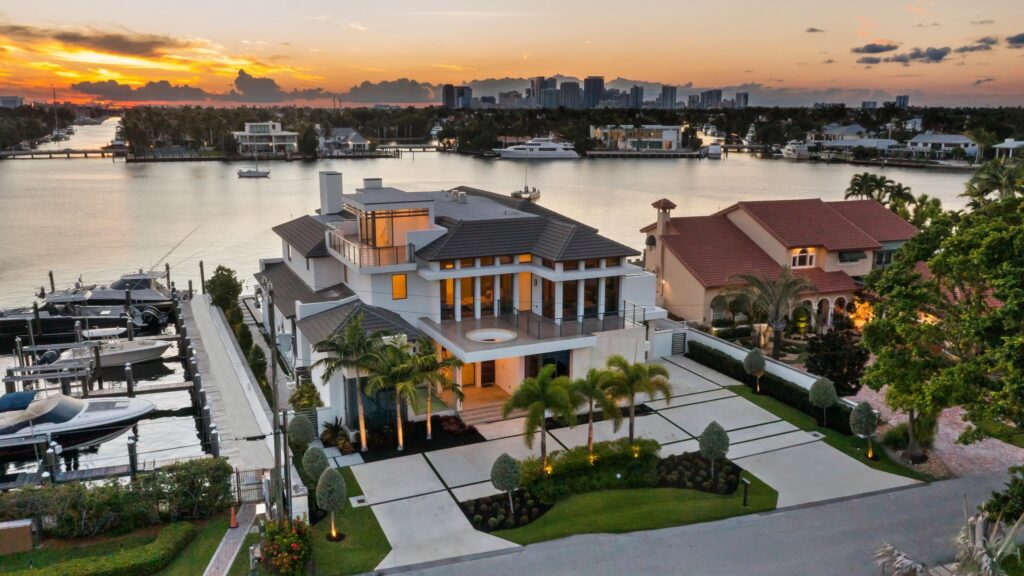
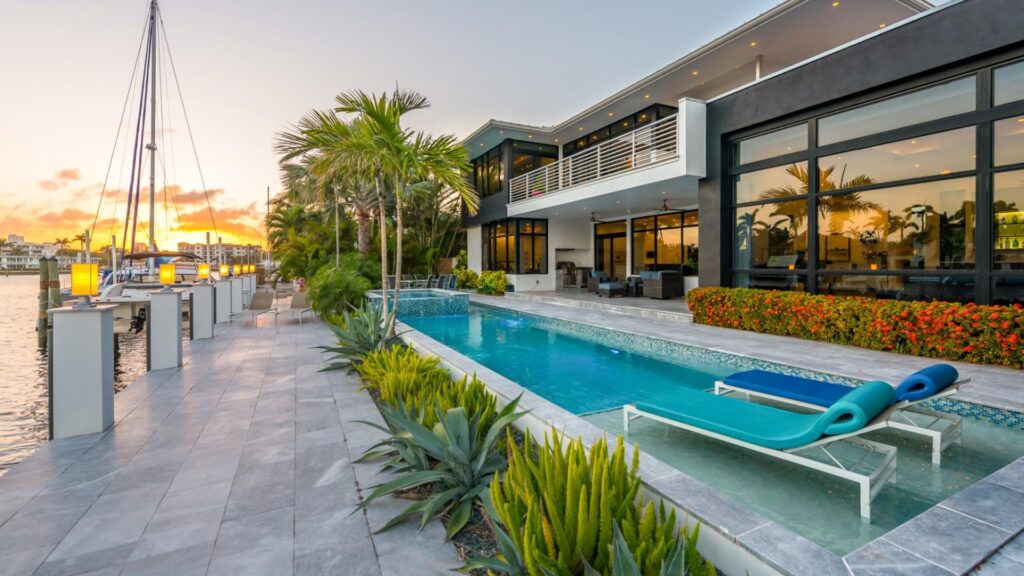
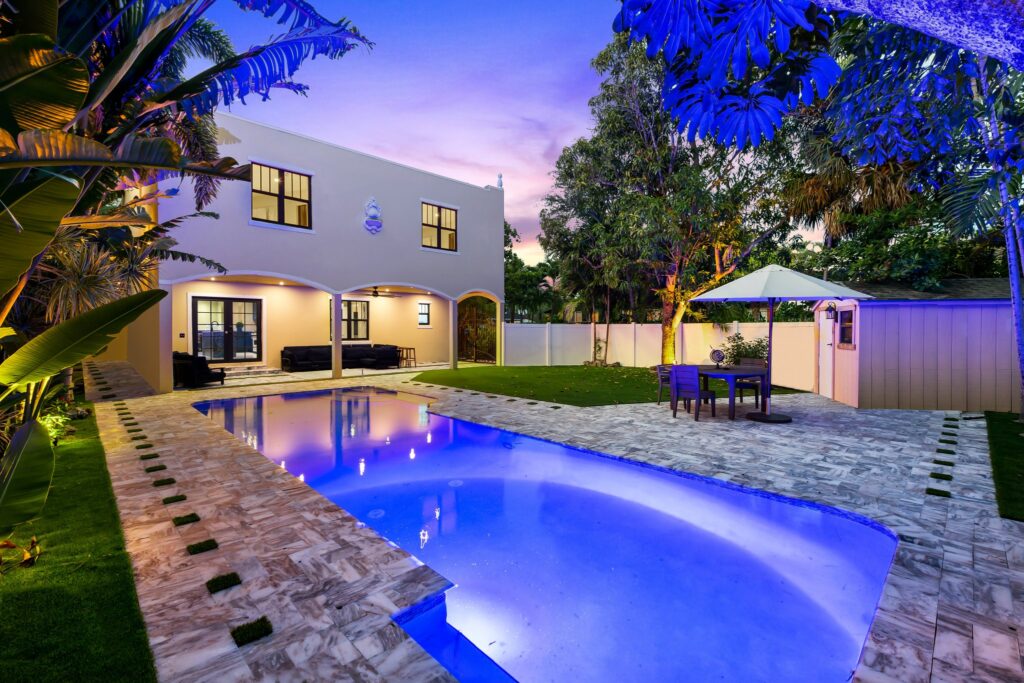
Take advantage of the “golden hour” shortly after sunrise or before sunset. During this time, the natural light is soft, warm and creates a pleasant ambiance. The golden hour is ideal for capturing exteriors and creating a captivating mood.
Bracketing
In challenging lighting situations, such as interiors with bright windows, use bracketing to capture a range of exposures. Bracketing involves taking multiple shots at different exposure levels and blending them later in post-processing to ensure the interior and exterior are well-exposed.
Editing and Post-Processing
Editing and post-processing are essential steps in real estate photography to enhance the images and make them more appealing. Here are some key considerations:
Color Correction
Ensure the colors in your photographs are accurate and true to life. Adjust the white balance if necessary and make any color corrections to create a consistent and visually pleasing look.
Exposure and Contrast
Adjust the exposure and contrast to reveal the details in the shadows and highlights. Avoid overdoing it, as you want the images to look natural and inviting.
Perspective Correction
In some cases, you may correct the perspective of the photographs to ensure the vertical lines are straight and the image looks well-balanced. This can be done using software like Adobe Photoshop or Lightroom.
Showcasing the Property Online
Once you have captured and edited the photographs, it’s time to showcase the property online. Here are some tips for effective online presentations:
High-Quality Images
Ensure the images are of high quality and optimized for web viewing. Use JPEG format and compress the images without compromising the visual quality. This will ensure fast loading times and a positive user experience.
Virtual Tours
Consider creating virtual tours or 360-degree panoramas to provide an immersive experience for potential buyers. This allows them to explore the property from the comfort of their own homes.
Compelling Descriptions
Accompany the images with compelling and descriptive captions and descriptions. Highlight the property’s key features, amenities, and location to pique the interest of potential buyers.
FAQs
Q1: Do I need professional photography equipment for real estate photography?
A1: While professional equipment can enhance the quality of your photographs, it is not a requirement. You can achieve impressive results with a DSLR or mirrorless camera, a wide-angle lens, a tripod, and basic lighting equipment.
Q2: Can I use my smartphone for real estate photography?
A2: While smartphones have improved their camera capabilities over the years, they may offer a different level of control and image quality than dedicated cameras. For professional-grade results, it is recommended to use a DSLR or mirrorless camera.
Q3: How important is post-processing in real estate photography?
A3: Post-processing is essential in real estate photography to enhance the images and make them more visually appealing. It allows you to adjust colors, exposure and correct any perspective distortions to create a polished final result.
Q4: Are there any legal considerations for real estate photography?
A4: Yes, there are legal considerations when photographing properties. Ensure you have the necessary permissions and releases from the property owner before taking photographs. Respect privacy rights and avoid including personal belongings or sensitive information in the images.
Q5: How can I differentiate my property listings through photography?
A5: To differentiate your property listings, focus on capturing each property’s unique features and selling points. Use creative angles, emphasize architectural details, and showcase the lifestyle and ambiance of the property. Highlight any amenities or exclusive features that set the property apart from others.
Conclusion
Mastering the art of real estate photography is a valuable skill that can significantly enhance your property listings. By following the outlined steps, utilizing the right equipment, and employing effective techniques, you can create visually stunning images that capture the essence and appeal of luxury properties. Remember to prioritize lighting, composition, and post-processing to achieve the best results.

